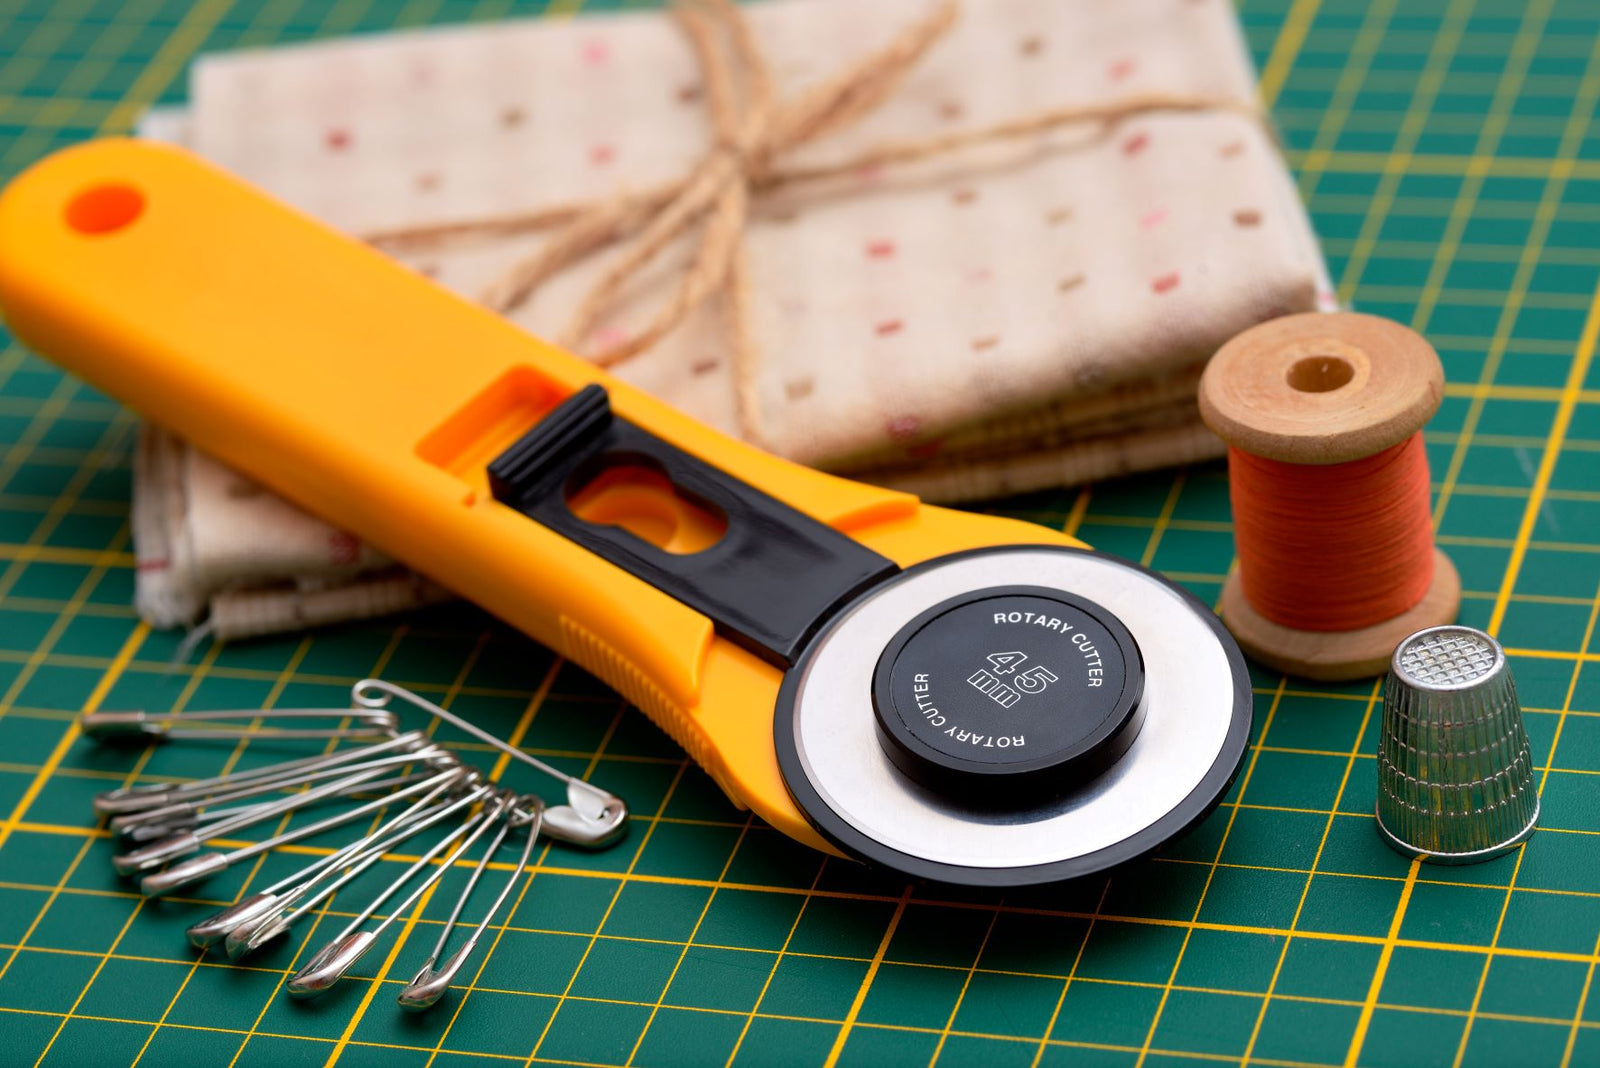
Want to reduce your cutting time in half? Rotary cutters cut all fabric types—up to six or eight layers at a time—quickly and easily without distorting pattern cutting lines. They are treasured especially by volume sewers and arthritis sufferers because the blade does all the work while you grip the handle and apply just a little pressure. Some brands can be adjusted to control the amount of pressure exerted, allowing adjustment for the fabric weight.
You can choose from several sizes and types of rotary cutters available. Blades range in size from 18 mm in diameter to 60mm. Smaller diameter blades make cutting out curves and details much easier; whereas the larger-diameter blades make quick work of long, straight cuts. The larger-blade cutters are especially useful for quilting, the smaller cutters for more intricate projects and garment making.
When assessing a cutter, make sure the blades are easy to load and change. Some rotary blades have a safety shield that locks into place both over the blade, for storage, and back from the blade when in use.
If practical, try out different cutters to see which is most comfortable for your hand size and the tasks you’ll be using it for. Some cutters require that you squeeze the handle to extend the blade for use, others have a cover shield that slips back and locks into place exposing the blade for use. Almost all rotary cutters feature some sort of safety lock.
Using Rotary Cutters
To begin cutting, position the blade 1" in from the fabric edge along the ruler. Carefully pull the blade toward you and off the fabric edge; this initial clip will keep the fabric from bunching and encourage a smooth start for the forward motion; this is the only time you should cut toward you.
When cutting out projects using rotary cutters, use shears or snips to mark notches. As you cut, hold your head directly over the blade for a clear view of the cutting line. Whenever possible, use a ruler or other cutting guide. To cut, butt the blade up against the ruler’s edge.
Multiple projects can be cut at one time using rotary cutters. Carefully stack and align the grains and folds of the fabrics. Position the pattern (if applicable) and cut through all layers at once. If any resistance is met, reduce the number of layers until you can easily cut through the fabric without the fabric bunching or twisting.
Rotary Cutter Care
Change blades frequently. A dull blade won’t cut efficiently and can scar the cutting mat from using too much pressure. If your rotary cutter blade is sharp, but your cutter isn’t working well, be sure the nut securing the blade isn’t too tight and clean away any bits of lint that catch between the nut and blade. Engage the safety guard when the rotary cutter is not in use and keep it out of reach of children.
Rotary Cutter Accessories
To use a rotary cutter safely, successfully and with maximum efficiently, you’ll also need a rotary cutting mat and a clear plastic ruler. For curved areas, use a French curve or hipline curve ruler as a cutting guide
Apply pattern weights in conjunction with a rotary cutter and mat. Pattern weights prevent the pattern from slipping and moving around while you cut. Choose shaped weights designed for fitting common pattern curves, right angles, and straight edges; round weights with gripper tacks; or felt-bottomed lead weights designed specifically for sewing purposes.
Also, a guide arm for cutting wider or narrower seam allowances or strips of consistent width are available as an accessory on some models and as a built-in feature on others—a real time-saver. Patterned blades—such as pinking and scalloping—also are available for decoratively cutting fabrics, plus paper, photos, and cards.


